 BLP Workbench
 Settings
Admin › Settings holds the settings that apply to everyone: your branding, business details, regional formats, HTTPS, backups, and how deals, projects, quotes, labels and inventory work. Each card has its own Save button; changes apply for everyone as soon as they're saved.
General settings are in the left column; Backup settings and the settings of optional modules are on the right. The cards are described below in the order they appear.
Cards fold down to their title and description: click a folded card, or its arrow button, to open it, and the arrow again to fold it. Branding starts open and Backup settings always stays open. The two buttons at the top right open all cards or fold them all (except Branding). A card with unsaved changes (its Save button glows) doesn't fold until you save. Which cards are folded is remembered in your browser.
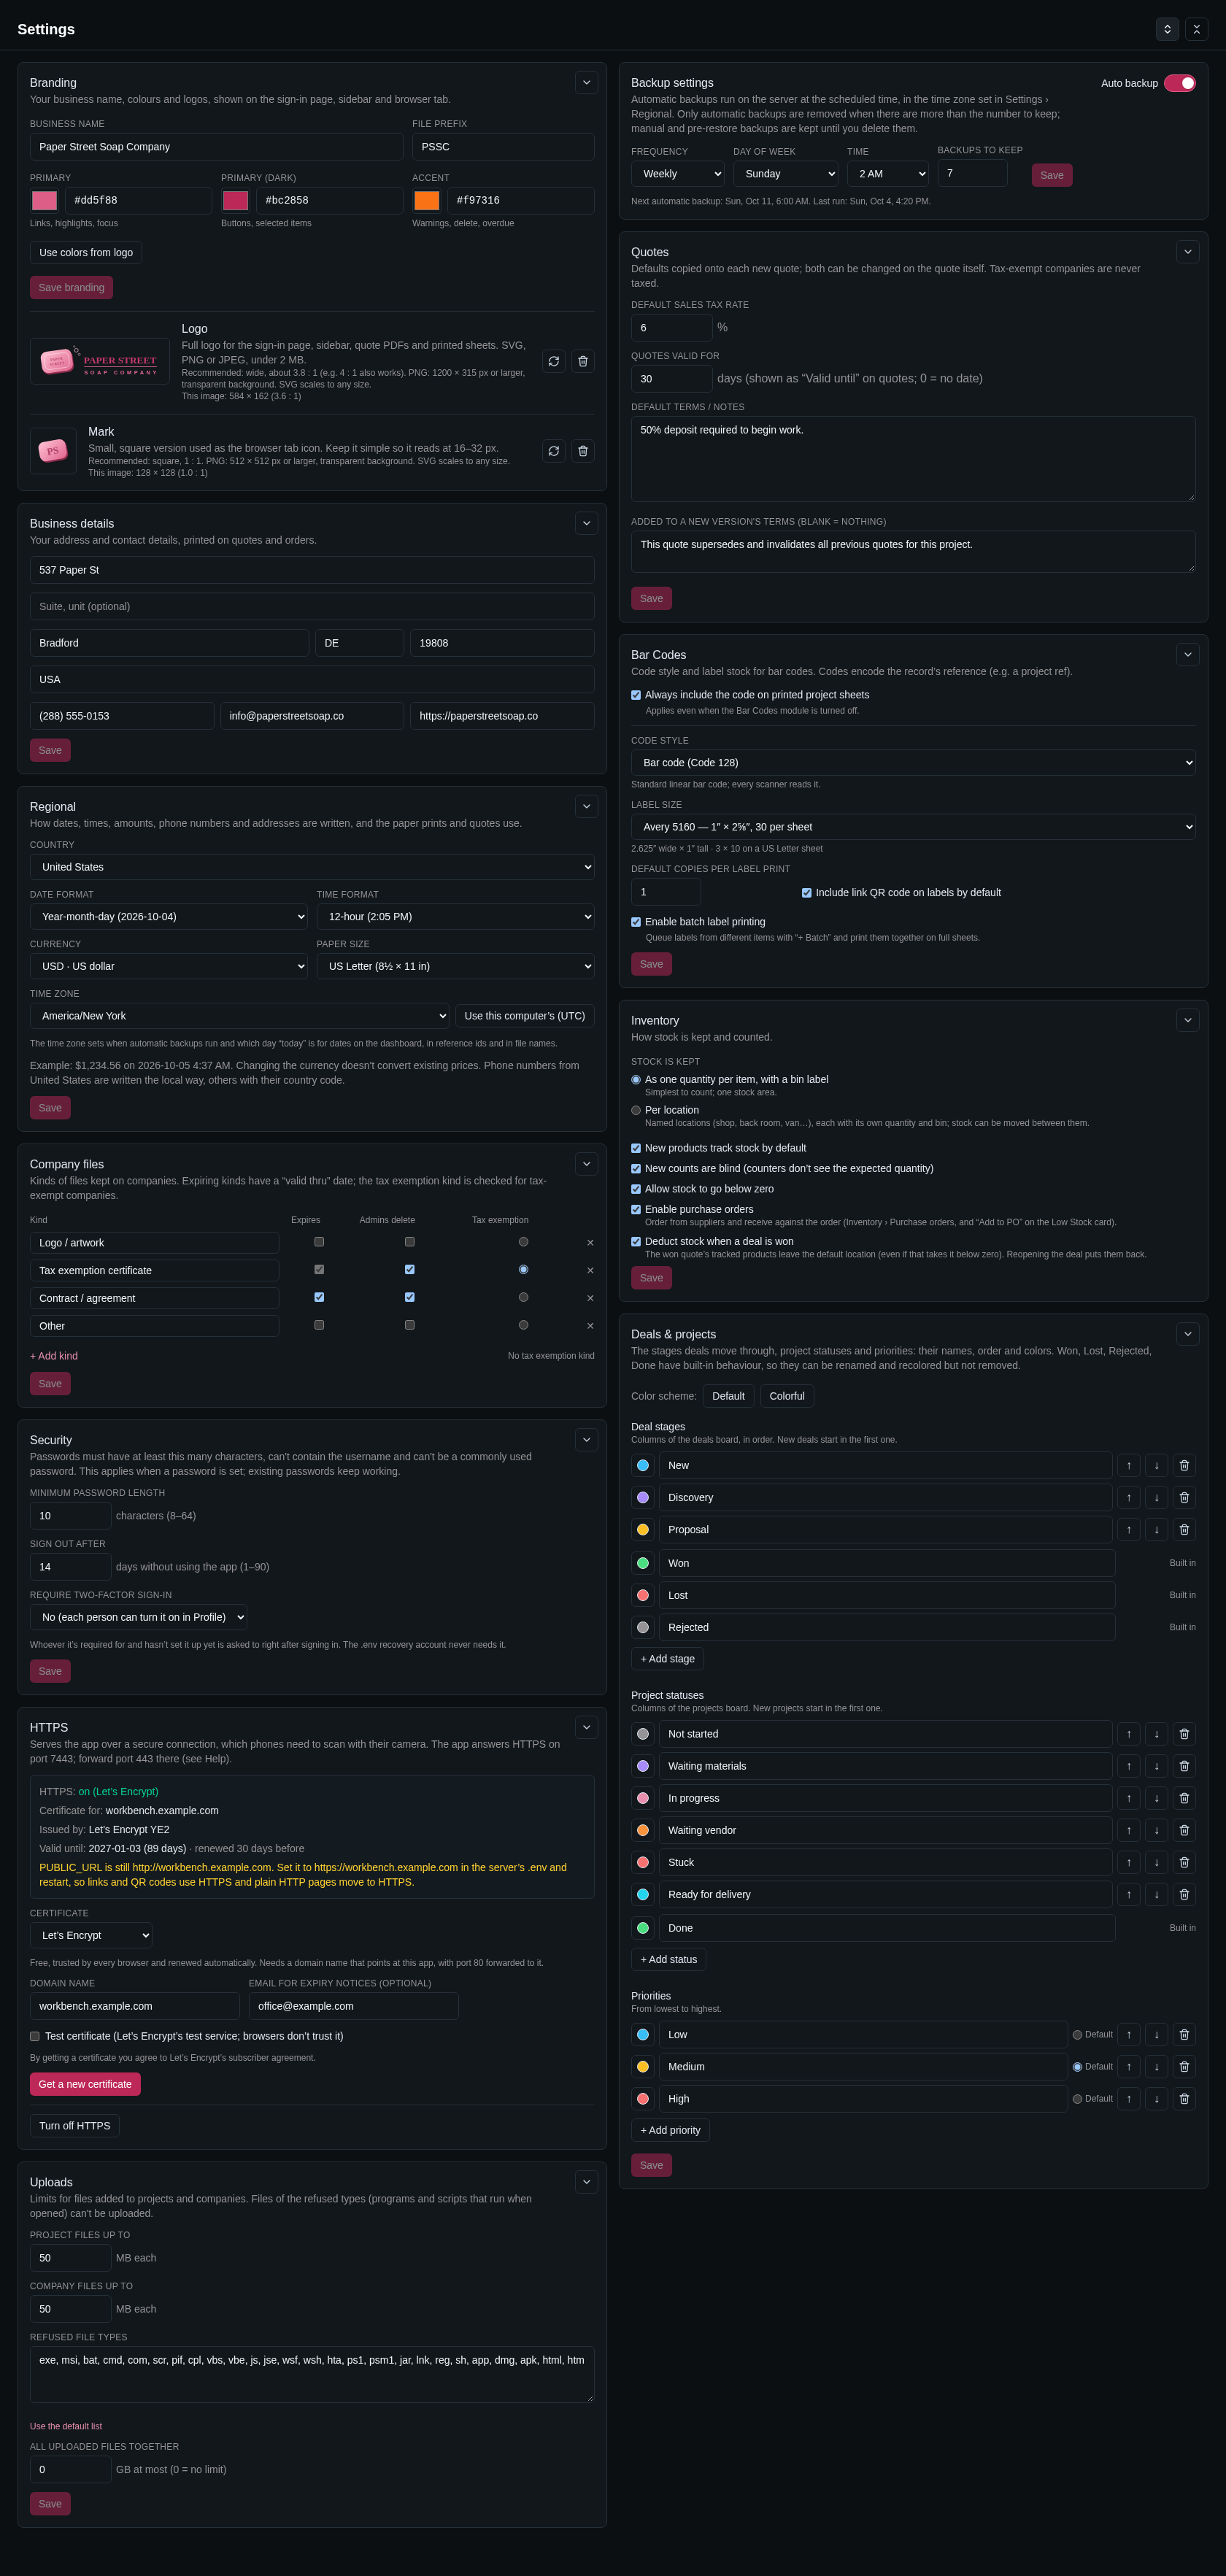
Branding
Your business name, colors and logos, shown on the sign-in page, in the sidebar and on the browser tab.
- Business name: shown where there's no logo.
- File prefix: a short name (for example ACME) put at the start of the names of files the app creates, such as quote PDFs.
- Primary, Primary (dark) and Accent colors: Primary is used for links, highlights and focus; Primary (dark) for buttons and selected items; Accent for warnings, delete buttons and overdue items. Pick a color or type its code (such as
#1d4ed8).
The page shows color changes right away as a preview. Click Save branding to keep them, or Reset to go back to the saved colors.
Logo and mark
- Logo: the full logo for the sign-in page, the sidebar, quote PDFs and printed sheets. Best as a wide image (about 3.8 : 1), as SVG, or as a PNG of 1200 × 315 px or larger with a transparent background. SVG, PNG or JPEG, under 2 MB.
- Mark: a small square version (1 : 1, PNG 512 × 512 px or larger) used as the browser tab icon. Keep it simple so it reads at a small size.
Click Upload to add one; once there is an image, use the buttons next to it to replace or remove it. Images are saved as soon as they're uploaded. Under each image you see its size; if its shape is far from the recommended one, a note warns that it may look small or cramped.
Colors from your logo
Once a logo is uploaded, Use colors from logo fills in the three colors from the logo's own colors. Adjust any of them if you like, then click Save branding. A logo without clear colors (for example, black and white) can't be used; pick the colors yourself instead.
Business details
Your address, phone, email and website, printed on quotes, purchase orders and other prints. The address fields use your country's wording (for example State and ZIP code, or County and Postcode), which follows the country chosen in Regional. Phone numbers are tidied into your country's format when you leave the field.
Regional
How dates, times, amounts, phone numbers and addresses are written, and the paper size prints use. These settings apply across the app, on labels, quote PDFs and printed sheets.
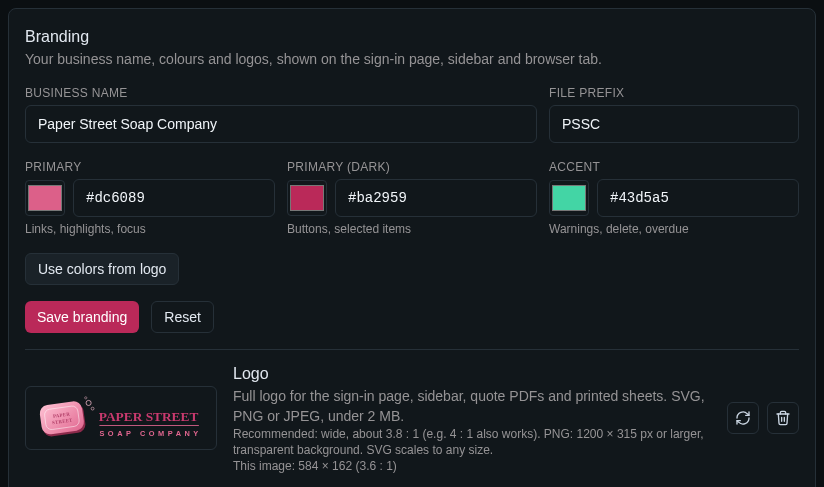
- Country: phone numbers from your country are written the local way (for example (616) 555-0123 in the US), and numbers from other countries keep their country code. Addresses use your country's words. When you choose a country, the app offers its usual date and time format, currency and paper size: click Use them to take them, or Keep mine to change only the country.
- Date format: for example 2026-10-04, 10/04/2026 or 04/10/2026.
- Time format: 12-hour (2:05 PM) or 24-hour (14:05).
- Currency: the currency amounts are shown in. Changing it doesn't convert existing prices.
- Paper size: US Letter or A4, for quote PDFs, project sheets, purchase orders and label sheets.
- Time zone: the time zone the app works in. It sets when automatic backups run and which day "today" is on the dashboard, in reference ids and in file names. If it differs from the computer you're on, Use this computer's sets that computer's zone.
The card shows an example amount and date in the chosen formats.
Company files
The kinds of files kept on a company's Files card (for example logos, tax exemption certificates and contracts). For each kind:
- Kind: its name. Type to rename it.
- Expires: files of this kind get a "valid thru" date and show as valid, expiring within 30 days, or expired.
- Admins delete: only admins can delete files of this kind.
- Tax exemption: marks the one kind that is the tax exemption certificate. Tax-exempt companies without a current one get a warning on the company page, its hover card and the quote editor. This kind always expires. No tax exemption kind turns the check off.
+ Add kind adds a kind; the ✕ removes one. Click Save to keep the changes.
Security
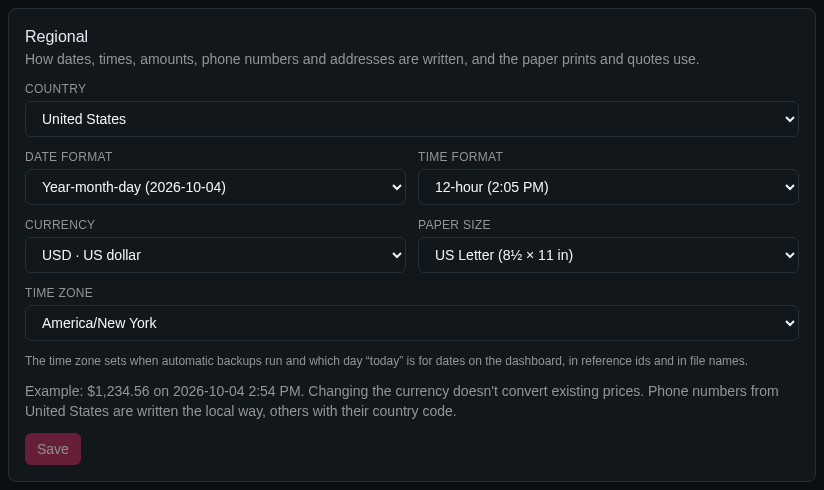
- Minimum password length (8–64, default 10): applies whenever a password is set (the first account, new users, resets and changes). Passwords also can't contain the username or be a commonly used password. Existing passwords keep working until they're changed.
- Sign out after (1–90 days, default 14): someone who hasn't used the app for this long is signed out. Using the app keeps a session alive.
- Require two-factor sign-in: No (each person can turn it on in their Profile), For administrators or For everyone. Whoever it's required for and hasn't set it up yet is asked to right after signing in, before they can use the app, and can't turn it off. To require it for administrators, turn it on for yourself first. The .env recovery account never needs it. It isn't available on a demo installation or while there's sample data.
After 10 wrong passwords for one username within 15 minutes, that account waits 15 minutes before accepting another try, whichever computer the tries came from. Failed tries are listed in Activity under Sign-ins.
HTTPS
Serves BLP Workbench over a secure (HTTPS) connection with a certificate. Phones need HTTPS to scan with their camera, and browsers mark plain HTTP pages as not secure. The app keeps answering on its normal port and answers HTTPS on its HTTPS port (7443 inside the container, usually mapped to 443; see HTTPS).
The box at the top shows whether HTTPS is on, which names the certificate is for, who issued it and until when it's valid. It warns when the certificate doesn't cover the address people open (PUBLIC_URL), when that address still starts with http://, and when the last renewal failed.
Choose the Certificate:
- Let's Encrypt: a free certificate every browser trusts, renewed automatically 30 days before it expires. It needs a domain name (such as
workbench.example.com, not an IP address) that points at the server, with port 80 forwarded to the app's normal port: Let's Encrypt checks the name over plain HTTP. Enter the Domain name and, if you like, an Email for expiry notices, then click Get certificate. Test certificate uses Let's Encrypt's test service first (browsers don't trust those); clear it and click Get a new certificate for the real one. - Your own certificate: paste the certificate (with the intermediate certificates after it) and its private key as PEM text, or load them from files, and click Use this certificate. The key must belong to the certificate and can't have a password. The app doesn't renew these: upload a new one before it expires (the box warns 30 days before).
- Self-signed: for use inside your own network, also when the app is opened by IP address. Click Create certificate; it covers the address in
PUBLIC_URLand is renewed automatically. Browsers warn about it until a device trusts it: click Download the certificate authority and install that file once on each phone and computer (on iPhones, also turn it on under Settings › General › About › Certificate Trust Settings).
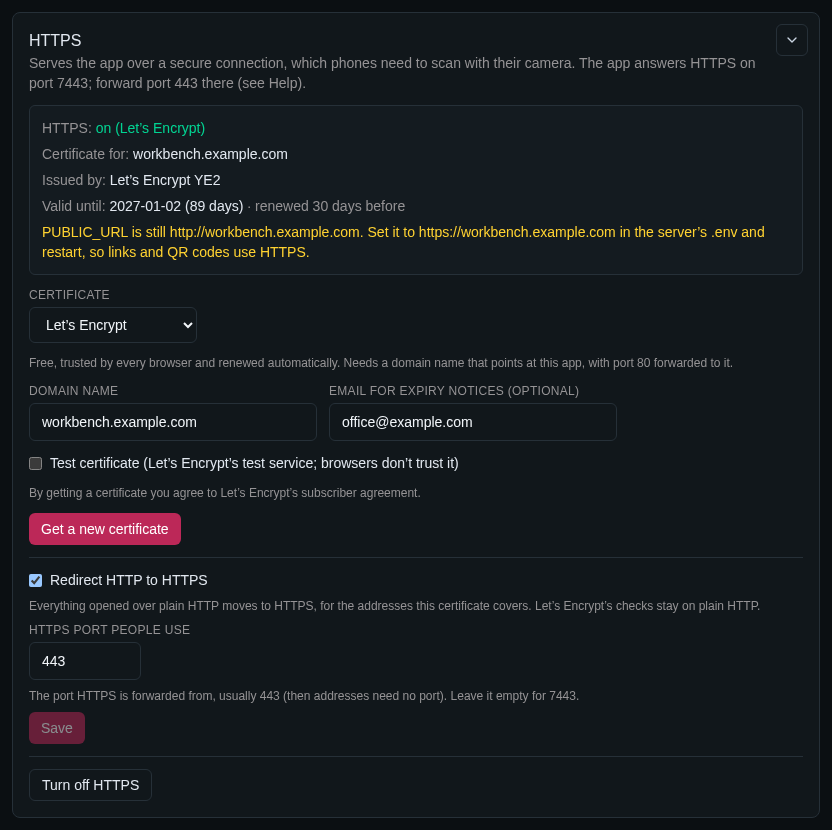
Before asking Let's Encrypt, the app checks that it can reach itself at http://<domain>/. When that fails, it says so and offers Try anyway: from inside some networks the name doesn't lead back to the server even though it works from the internet.
Once HTTPS works for the address in PUBLIC_URL, set PUBLIC_URL to the https:// address in the server's .env and restart the app. Links and QR codes then use HTTPS.
Redirect HTTP to HTTPS
With a certificate in place, turn on Redirect HTTP to HTTPS and click Save to move everything opened over plain HTTP to HTTPS, so nobody keeps using the app unencrypted by accident. Enter the HTTPS port people use: the port HTTPS is reached at from their browsers, usually 443 (then addresses need no port at all). Left empty, it's the app's own HTTPS port. The address in PUBLIC_URL, when it starts with https://, always goes to exactly that address.
Only addresses the certificate covers are redirected; others (an IP address a Let's Encrypt certificate doesn't name, for example) stay on plain HTTP instead of showing a browser warning. Let's Encrypt's checks always stay on plain HTTP, so renewals keep working. Installs set up with a domain name by the installer have this on from the start.
Turn off HTTPS stops serving HTTPS and removes the certificate; plain HTTP keeps working. If a broken certificate locks people out, TLS_DISABLE=true in .env turns HTTPS off until it's removed again.
Uploads
- Project files up to and Company files up to: the largest file accepted, in MB (default 50).
- Refused file types: extensions that can't be uploaded, such as
exe,bat,jsorhtml: programs and scripts that run when opened. Design files are accepted: LightBurn projects and templates (.lbrn,.lbrn2,.lbt), Illustrator (.ai,.eps), CorelDRAW (.cdr,.cmx), SVG, PDF and DXF. Separate them with commas; Use the default list puts the original list back. - All uploaded files together: the most space (in GB) all uploaded files may take on the server; 0 means no limit. When it's reached, uploads are refused until files are deleted (and purged in Maintenance) or the limit is raised.
Logos are checked to be real SVG, PNG, JPEG or WebP images, up to 2 MB.
Backup settings
Turns automatic backups on and sets when they run. The same settings open from the gear button on Admin › Backup & Restore. See Automatic backups.
Quotes
Defaults copied onto each new quote; they can be changed on the quote itself. Tax-exempt companies are never taxed.
- Default sales tax rate: in percent.
- Quotes valid for: the number of days, shown as "Valid until" on quotes; 0 shows no date.
- Default terms / notes: the terms printed on new quotes (for example, a deposit requirement).
- Added to a new version's terms: text added to the terms when you make a new version of a quote. Leave it blank to add nothing.
These settings also open from the gear button on the Quotes module in Modules.
Bar Codes
How bar code labels look and print. Codes hold the record's reference (for example a project's or product's reference id).
- Always include the code on printed project sheets: applies even when the Bar Codes module is off.
- Code style: Code 128, QR or Data Matrix.
- Label size: the roll label or label sheet you print on. The card shows the label's size and, for sheets, how many fit on a page. Sheets include US Letter and A4 stock (such as Avery L7160, L7163 and L7651).
- Default copies per label print: from 1 to 100.
- Include link QR code on labels by default: adds a QR code that opens the record in the app. It uses the app's address set by whoever runs the server.
- Enable batch label printing: shows + Batch on label previews so labels from different items can be queued and printed together on full sheets.
Inventory
How stock is kept and counted. This card shows only while the Inventory module is on. See also Inventory.
- Stock is kept: As one quantity per item, with a bin label (simplest), or Per location (named locations such as shop, back room or van, each with its own quantity and bin, with moves between them). Only admins can switch. Per location shows a list of Locations where you add, rename and archive locations; an empty location can be deleted by an admin. Switching back to one quantity moves everything into the default location and asks which bin label to keep for each item.
- New products track stock by default
- New counts are blind (counters don't see the expected quantity)
- Allow stock to go below zero
- Enable purchase orders: shows Inventory › Purchase orders and Add to PO. When it's off, those and the dashboard's order alerts are hidden.
- Deduct stock when a deal is won: the won quote's tracked products leave the default location (even if that takes stock below zero). Reopening the deal puts them back.
Deals & projects
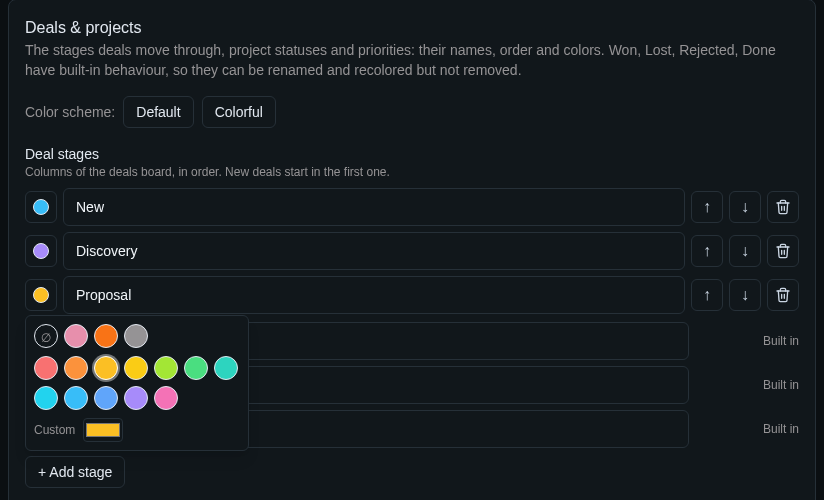
The stages deals move through, the project statuses and the priorities: their names, order and colors.
- Deal stages: the columns of the deals board, in order. New deals start in the first one.
- Project statuses: the columns of the projects board. New projects start in the first one.
- Priorities: from lowest to highest. Default marks the priority new projects get.
Type in a name to rename it. Use the arrows to move an entry up or down, the trash can to remove it, and + Add stage, + Add status or + Add priority to add one. A stage, status or priority that's in use can't be removed. Click Save to keep your changes, or Undo changes to drop them.
Built-in stages
Won, Lost and Rejected (closing a deal) and Done (finishing a project) are marked Built in. They keep their special behaviour — winning a deal creates its project, for example — so they can be renamed and recolored but not moved or removed.
Colors
Click the color dot in front of an entry to pick no color, one of the palette's colors, or a Custom color. Board columns get a colored edge, and stages, statuses and priorities show as colored labels throughout the app.
Color scheme recolors everything at once: Default or Colorful. Names and order stay as they are, and you can still change single colors afterwards.
Modules
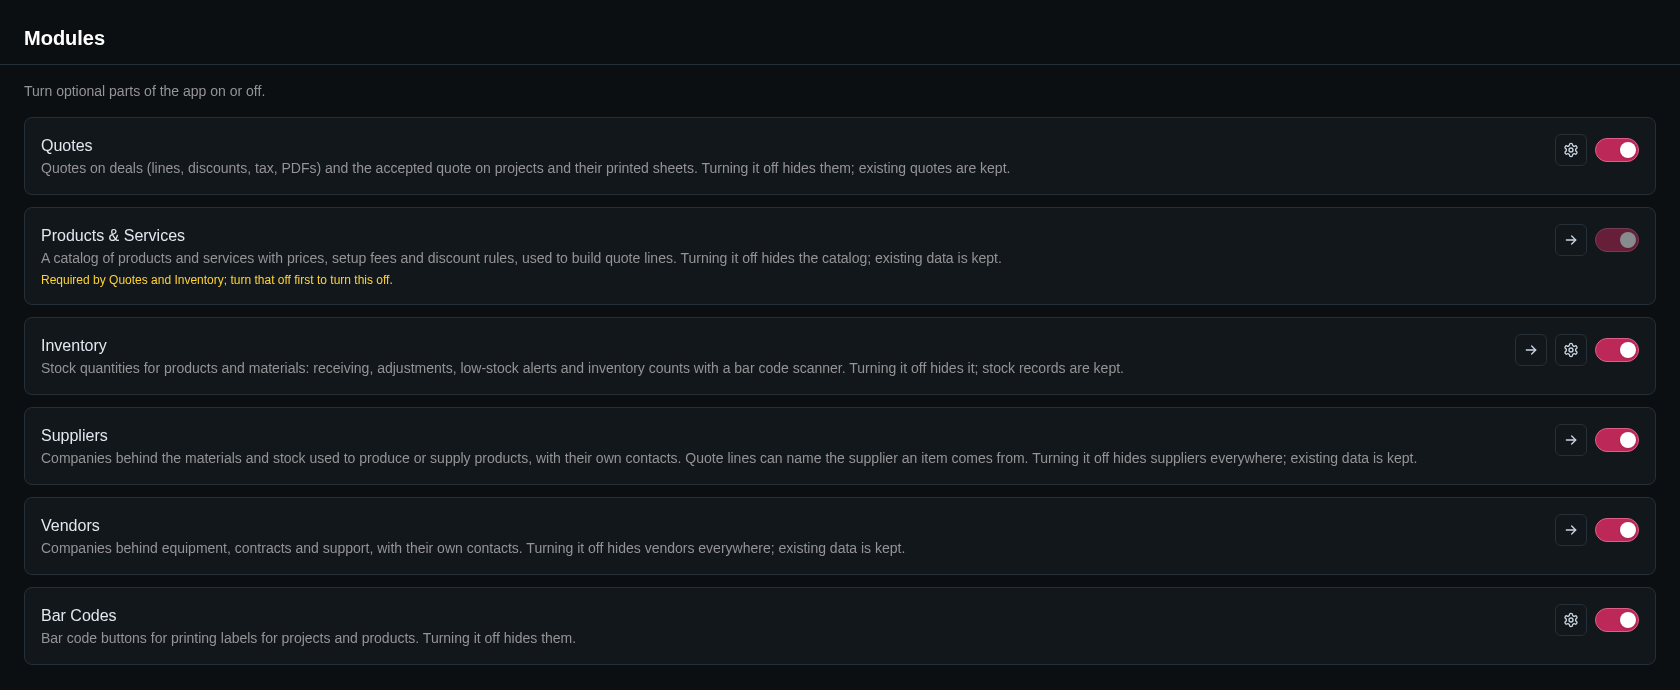
Admin › Modules turns optional parts of the app on or off. Turning a module off hides it; its data is kept and comes back when you turn it on again.
- Quotes: quotes on deals (lines, discounts, tax, PDFs) and the accepted quote on projects and their printed sheets.
- Products & Services: the catalog of products and services used to build quote lines.
- Inventory: stock quantities, receiving, adjustments, low-stock alerts and inventory counts.
- Suppliers: the companies behind the materials and stock you use, with their own contacts.
- Vendors: the companies behind equipment, contracts and support, with their own contacts.
- Bar Codes: buttons for printing bar code labels for projects and products.
Quotes and Inventory need Products & Services: turning either on also turns it on, and Products & Services can't be turned off while one of them is on.
Next to a module's switch, the arrow button opens its page, and the gear button (Quotes, Inventory and Bar Codes) opens its settings, the same as the matching card on this page.
Setup wizard
A new install opens the setup wizard after the first administrator account is created. It starts by asking How you'll use it:
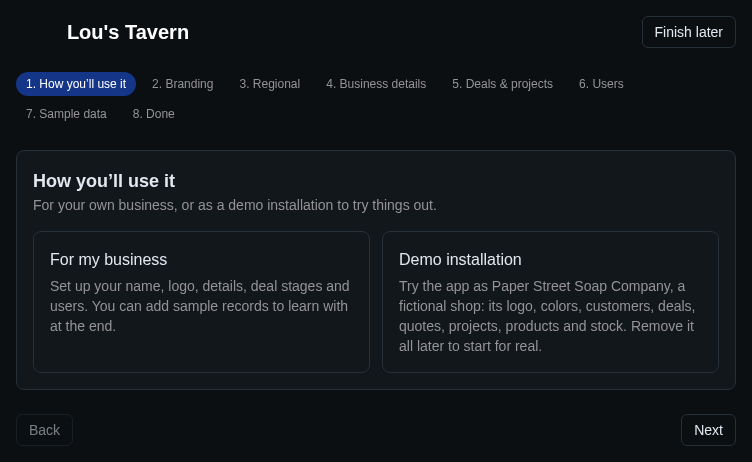
- For my business: the wizard walks through Branding, Regional, Business details, Deals & projects, Users and Sample data — the same settings as on this page and Users.
- Demo installation: the app becomes Paper Street Soap Company, a fictional shop, with its logo, colors, business details, customers, deals, quotes, projects, products and stock, and a few demo users with their history. The wizard then only asks for Regional, Deals & projects and Users. When you're ready to use the app for your own business, remove the sample data.
More about the steps:
- Every step can be skipped, and you can jump to any step from the numbered list at the top.
- Sample data adds Paper Street Soap Company's records and demo users (who can't sign in) under your own name and branding, so you can see how everything works. It's only offered while the install has no records of its own; remove it when you're ready.
- Finish later closes the wizard. Once it's closed, it doesn't come back; everything stays changeable in Admin › Settings, Admin › Users and Admin › Modules.