 BLP Workbench
 Installing and updating
This page is for whoever runs the BLP Workbench server. BLP Workbench runs as a Docker container; an installer script sets it up, and updating takes one command.
Requirements
- A Linux machine (or another system that runs Docker) with Docker and the Compose plugin.
docker compose versionshould work. - A user that can run Docker (a member of the
dockergroup), andcurl. - Early access: BLP Workbench is in early access, and its image is only downloadable by GitHub accounts that have been given access. Sign in to GitHub and open an early access request on the installer repository, github.com/brooksidelaser/blp-workbench-install. You get a reply on the request when your account has access.
- A GitHub token for downloading the image: in GitHub, open Settings › Developer settings › Personal access tokens › Tokens (classic), choose Generate new token (classic), and tick only the read:packages scope. Copy the token; GitHub shows it only once.
Installing
Download and run the installer:
curl -fsSLO https://raw.githubusercontent.com/brooksidelaser/blp-workbench-install/main/install.sh
bash install.sh
It asks for:
- Instance name: the container's name and the name of its folder (default
blp-workbench). Letters, digits,-,_and.only. - Folder to install into: the instance goes in a subfolder with its name (default: your home folder, so
~/blp-workbench). A folder that already has an install is refused; the installer prints the update command for it instead. - Domain name for HTTPS (optional): a domain name that points at this machine, such as
workbench.example.com. With one, the app uses ports 80 and 443 (both must be free here and reachable from the internet), is opened athttps://<domain>and gets a free Let's Encrypt certificate by itself on its first start. You can also give an Email for certificate expiry notices. Leave it empty to skip; see HTTPS. - Port on this machine (without a domain): it suggests a free port, starting at 7080. The HTTPS port is the next free one from 7443.
- Address people will open: the address used in label QR codes and links, for example
http://192.168.1.20:7080. - Version to run: a version tag such as
v0.66b, orlatest. - User id and Group id: the user and group on this machine the app runs as, which own its data folder (default: you). The installer changes the data folder's owner if needed (sudo may ask for your password).
- GitHub username and token, if this machine isn't signed in to the image registry yet.
It then writes compose.yaml and .env in the install folder, downloads the image and starts the app. At the end it prints the address to open, the install folder and the update command.
If it stops before the app is started (for example because your GitHub account hasn't been given access yet, or you press Ctrl+C), it removes the folders, files and containers it made, so you can run it again. Your sign-in to the image registry is kept, so the next try doesn't ask for the token again.
First-run setup
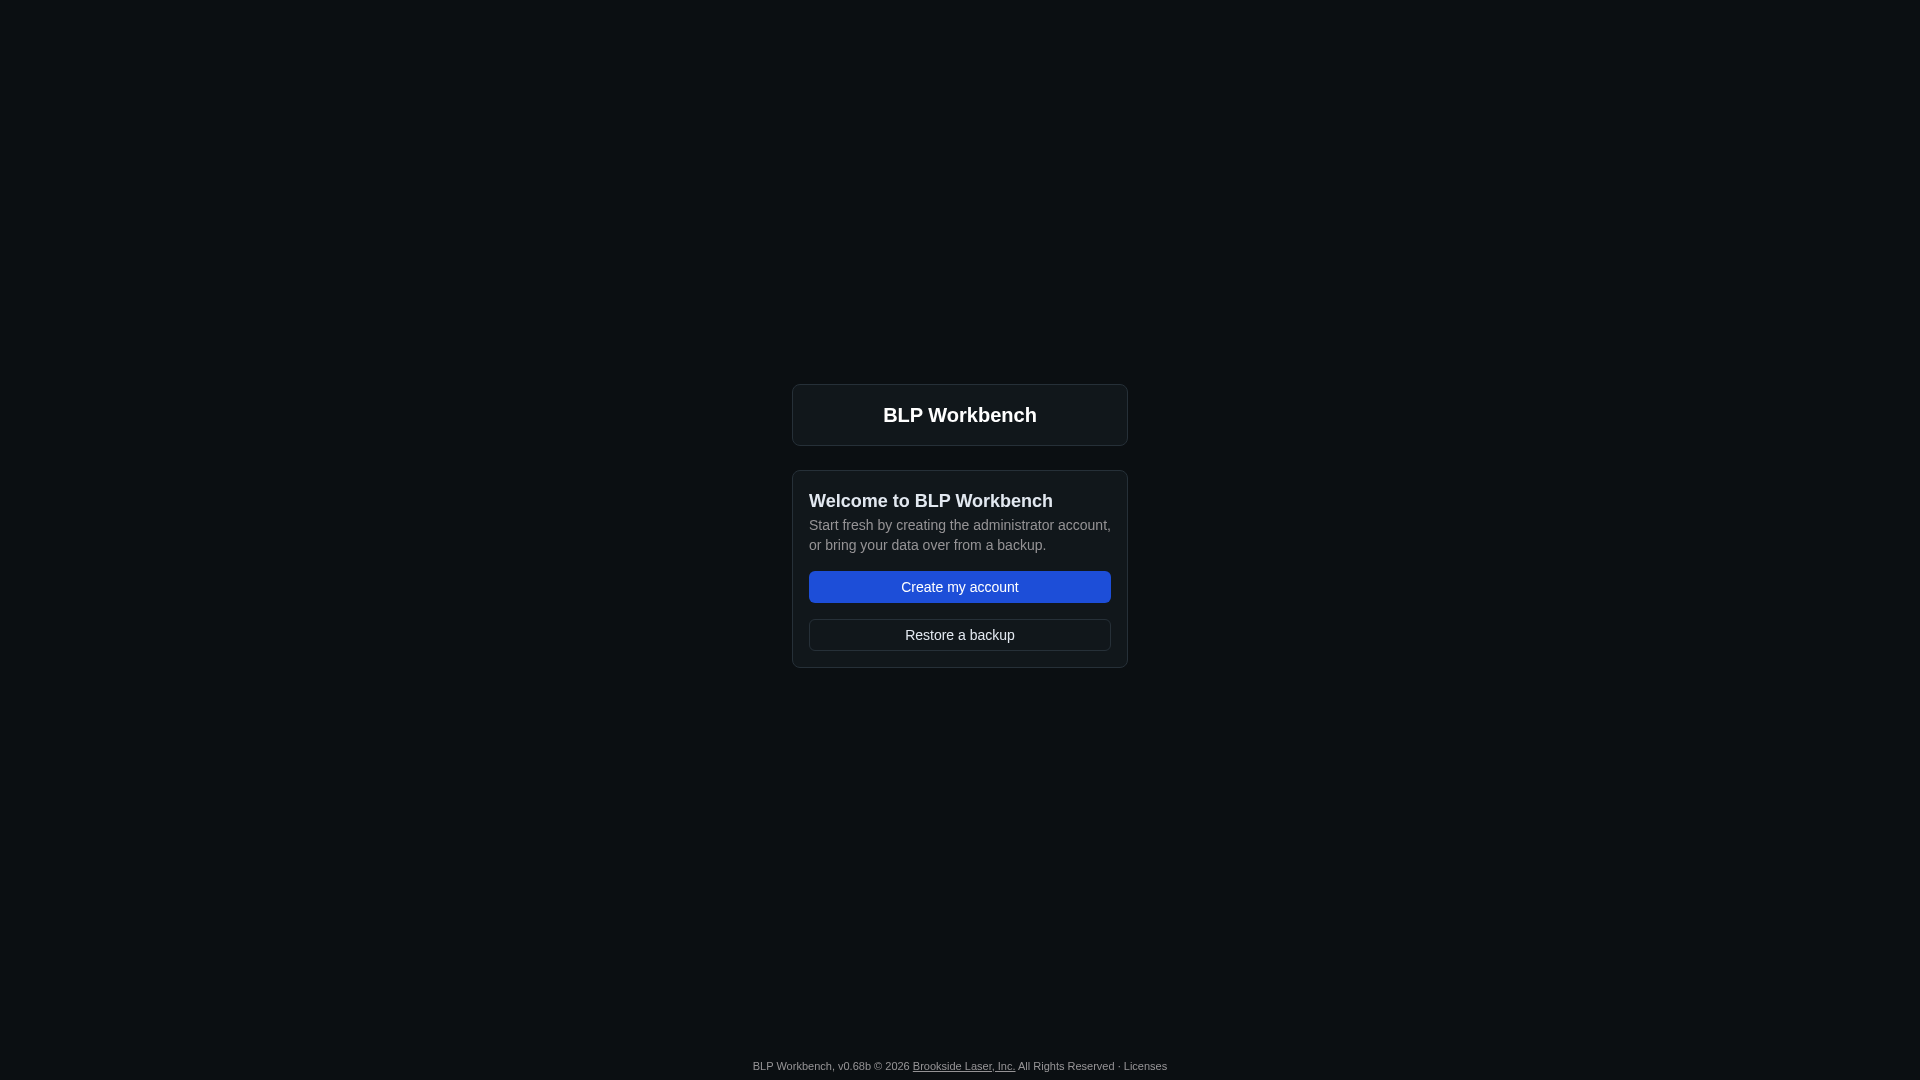
Open the address the installer printed. A new install shows a welcome page with two choices:
- Create my account: enter the Business name, Your name, a Username and a password (at least 10 characters). This is the first administrator account. You're signed in straight away, and the setup wizard asks whether this is for your business or a demo installation, then walks you through branding, regional settings, business details, deal stages and project statuses, users and optional sample data.
- Restore a backup: start from a backup made in BLP Workbench, for example when moving to a new server. Sign in with one of the backup's accounts afterwards. See Restoring during first-run setup.
After a start or an update, the app shows "BLP Workbench is still starting. Please wait." for a few seconds, then continues by itself.
Updating
In the install folder (the installer printed it at the end):
cd ~/blp-workbench && docker compose pull && docker compose up -d
Replace ~/blp-workbench with your install folder. With BLP_VERSION=latest (the default) this moves to the newest release. Your data stays in the data folder.
When an update changes the database, the app first saves a safety backup (listed in Admin › Backup & Restore as a Before restore backup), then applies the changes.
The version you're running is shown at the bottom of every page; click it to see what changed in each version.
Choosing a version
BLP_VERSION in the install folder's .env file sets which version runs:
latest: the newest release, each time you update.- A version tag, such as
v0.66b: stays on that version. To move to another version, change it in.env, then run the update command.
Going back to an older version
An older version can't open a database that a newer one has changed. To go back:
- Set
BLP_VERSIONin.envto the older version and run the update command. - In Admin › Backup & Restore, restore the safety backup made just before the update.
Several instances on one machine
You can run more than one BLP Workbench on the same machine, for example a real one and one for testing. Run the installer again and give the new instance a different name (for example blp-workbench-test). Each instance gets its own folder with its own data, its own container name and its own port; the installer refuses names and ports already in use.
In .env, these are CONTAINER_NAME, APP_PORT and APP_HTTPS_PORT.
The data folder
Everything BLP Workbench stores is in the data folder inside the install folder: the database, uploaded files (logos, company and project files, quote PDFs), backups, and the app's sign-in secret. Removing or replacing the container doesn't touch it.
- Backups made in the app are saved in
data/backups. Copy them somewhere else as well, or download them from Admin › Backup & Restore. - The folder must belong to the user and group the app runs as (
APP_UIDandAPP_GIDin.env). data/tlsholds the HTTPS certificate and its keys. It isn't part of backups: Let's Encrypt and self-signed certificates are simply made again, and you keep your own copy of an uploaded one.- To move to another server, make a backup in the app, install BLP Workbench on the new server, and restore the backup during first-run setup.
Useful commands, run in the install folder:
docker compose logs -f   # show the app's log
docker compose ps        # status (healthy / unhealthy)
docker compose down      # stop the app (data stays in ./data)
docker compose up -d     # start it again
HTTPS
Browsers only let a web page use the camera on a secure (HTTPS) connection, so scanning with a phone's camera in inventory count mode needs HTTPS. Everything else works over plain HTTP, including USB and Bluetooth bar code scanners (also ones paired to a phone or tablet), but HTTPS keeps passwords and data private on the way, so use it whenever the app can be reached from outside your network.
The app has HTTPS built in. It answers HTTPS on port 7443 inside the container, which compose.yaml publishes as APP_HTTPS_PORT (443 for the usual https:// address), and gets its certificate as set in Admin › Settings › HTTPS:
- Let's Encrypt (free, trusted, renewed automatically): needs a domain name pointing at the server (a dynamic-DNS name works), with port 80 published as
APP_PORT=80and port 443 asAPP_HTTPS_PORT=443. Forward both from your router if the server is at home or in the shop. The installer sets this up when you give it a domain. - Your own certificate, uploaded in the app.
- Self-signed, for use inside your own network (also by IP address); each device trusts it once.
To add HTTPS to an existing install:
- Make sure
compose.yamlhas the HTTPS port line ('${APP_HTTPS_PORT:-7443}:7443'); installs from before v0.72b need the current compose.yaml. - In
.env, setAPP_HTTPS_PORT(443, or another free port) and, for Let's Encrypt,APP_PORT=80. Rundocker compose up -d. - Choose the certificate in Admin › Settings › HTTPS.
- Set
PUBLIC_URLto thehttps://address in.envand rundocker compose up -dagain. Links and QR codes on labels then use HTTPS, and pages opened over plain HTTP move to HTTPS. - On the phone, open the HTTPS address, sign in, open a count and tap Camera. Allow camera access when the browser asks.
Labels printed before the change carry the old http:// address in their link QR code. Their main bar code doesn't depend on the address, so they still scan.
If a broken certificate keeps people out, add TLS_DISABLE=true to .env and run docker compose up -d: the app then serves plain HTTP only. Fix the certificate in Settings, then remove the line again.
With a proxy instead
If the server already runs a web server or proxy (Caddy, nginx, Traefik) for HTTPS, it can forward to the app's normal port instead. Set PUBLIC_URL to the https:// address and TRUST_PROXY=true in .env, so the app believes the proxy about HTTPS (it marks its sign-in cookie secure) and about each visitor's address (sign-in lockout, the activity log). Only trust the proxy when the app's port can't be reached without it, for example when the port is published on 127.0.0.1 only.
The recovery admin
If nobody can sign in as an admin any more (for example, the only admin's password is forgotten), add a recovery admin account in .env:
Set both values in
.env, choosing a username that no existing user has:ADMIN_USER=recovery ADMIN_PASS=choose-a-strong-passwordRestart:
docker compose up -d.Sign in with that username and password. The account is always an admin, so you can, for example, reset the forgotten password under Admin › Users.
Remove both lines from
.envand rundocker compose up -dagain.
While the recovery admin is set, it can always sign in, and a new install doesn't offer first-run setup. Its password can only be changed in .env. See The recovery admin for what it looks like inside the app.